Fastlane으로 자동 배포 구현기
- Fastlane
- TestFlight
- Xcode
- CI/CD
Fastlane을 사용해서 자동배포해보기
fastlane - App automation done right
Fastlane을 이용한 앱 자동 배포 - 다나와 기술블로그
Fastlane은 iOS와 Android 앱의 빌드와 배포 과정을 자동화시켜주는 오픈소스 도구이다.
기본적으로 Fastlane은 Ruby 기반으로 동작하는 클라이언트 자동 빌드, 배포 라이브러리이다.
→ 명령어 몇 줄로 빌드, 테스트, 배포를 모두 처리할 수 있으므로 매우 용이하다!
🤔 그래서 이걸 왜 쓰지?
→ Android와 iOS 또는 크로스플랫폼 클라이언트 배포 과정에서 반복되는 작업을 줄이고 사람의 실수를 줄일 수 있다!
🤔 그래서 이걸로 뭘 할 수 있는데?
→ 1. 인증서나 프로비저닝 프로파일을 쉽게 관리할 수 있다.
→ 2. 앱 빌드, 테스트 실행, 앱스토어나 플레이스토어에 배포하는 작업을 쉽게 자동화할 수 있다!
→ 3. ⭐ 스크린샷 생성, 메타데이터 업로드 등 앱스토어에 올릴 때 귀찮은 작업까지 몽땅 스크립트로 한 번에 처리할 수 있다!
🤔 그래서 어떻게 써?
→ 프로젝트 Fastfile에서 lane(예를 들어 beta나 release) 를 정의하고, 각 lane 안에 빌드나 테스트, 업로드 등의 action을 순서대로 적어서 처리할 수 있다!
→ 이후 터미널에서 해당 lane을 실행하면 정의해 둔 파이프라인이 CI/CD 파이프라인처럼 한 번에 돌아간다! (마치 도커 컨테이너처럼)
세팅하기
1. Xcode 프로젝트 사전 확인
1-1. Scheme 설정 확인하기
Manage Schemes에서 각 스킴이 Shared로 체크되어있는지 확인한다.
→ CI 에서 인식하려면 필수이다!

1-2. Signing 설정
Signing & Capabilities 에서 아래와 같이 확인한다.
Automatically manage signing이 체크되어있는가?Team이 선택되어있는가? → 코드스쿼드Ad-hoc프로파일이 애플 개발자 센터에 존재하는가?
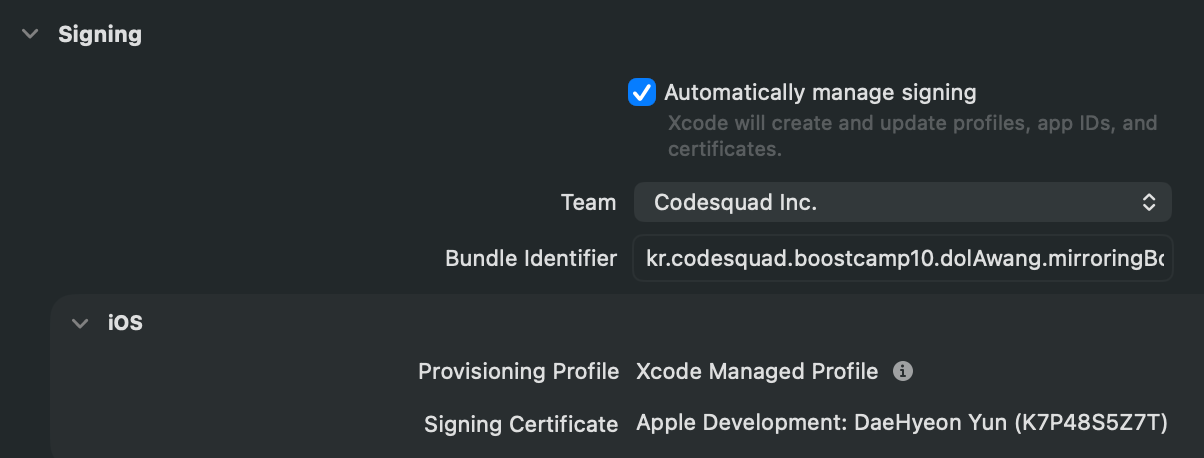
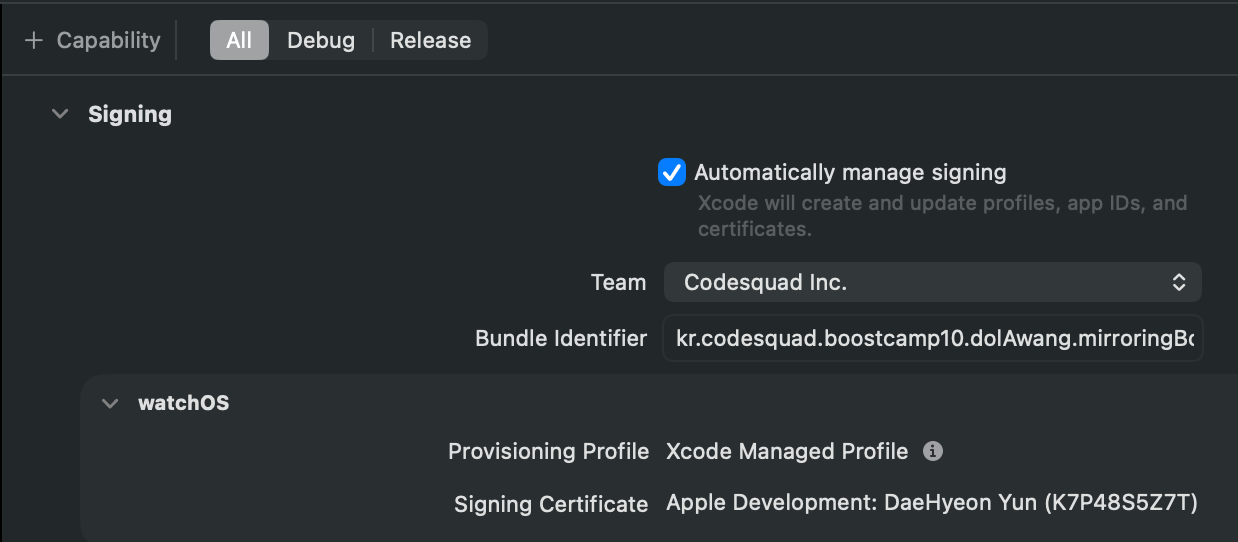
2. fastlane 설치
# 현재 프로젝트에서 `.xcodeproj`가 위치하고 있는 폴더에서 설치해야한다.
cd mirroringBooth

# Ruby의 Bundler에서 Gemfile을 생성시켜 루비 프로젝트로 명시한다.
bundle init

# 프로젝트 Gemfile에 fastlane gem을 추가한다.
# 팀원들과 CI가 모두 동일한 fastlane 버전을 사용하기 위함이다.
bundle add fastlane

# Bundler로 관리되는 fastlane을 이용해서 프로젝트에 fastlane 설정을 초기화한다.
bundle exec fastlane init
위를 통해 fastlane을 초기화하면 아래와 같이 터미널에 선택지가 출력된다.
You can add ostruct to your Gemfile or gemspec to silence this warning.
[✔] Looking for iOS and Android projects in current directory...
[00:33:03]: Created new folder './fastlane'.
[00:33:03]: Detected an iOS/macOS project in the current directory: 'mirroringBooth.xcodeproj'
[00:33:03]: -----------------------------
[00:33:03]: --- Welcome to fastlane 🚀 ---
[00:33:03]: -----------------------------
[00:33:03]: fastlane can help you with all kinds of automation for your mobile app
[00:33:03]: We recommend automating one task first, and then gradually automating more over time
[00:33:03]: What would you like to use fastlane for?
1. 📸 Automate screenshots
2. 👩✈️ Automate beta distribution to TestFlight
3. 🚀 Automate App Store distribution
4. 🛠 Manual setup - manually setup your project to automate your tasks
여기서 각 선택지가 나열되는데 이는 아래와 같은 의미이다.
📸 Automate screenshots
- 시뮬레이터를 여러 개 실행해서 스크린샷을 자동으로 촬영한다.
→ 앱스토어 제출용 이미지 생성을 목적으로 한다.
👩✈️ Automate beta distribution to TestFlight
- 의미 그대로
TestFlight업로드를 자동화한다. - 내부/외부 테스터 배포를 목적으로 한다.
🚀 Automate App Store distribution
- App Store Connect 업로드를 자동화한다.
- 심사 제출도 자동화한다.
- ⭐
🛠 Manual setup
- fastlane의 뼈대만 생성한다. 즉 커스텀!
Fastfile만 생성한다.
현재 목적은 Appbox라는 외부 플랫폼에 자동 배포하는 것이므로 커스텀이 필요하다고 판단되어 4번 을 선택하였다.
최종적으로 생성된 파일은 다음과 같이 4개다.
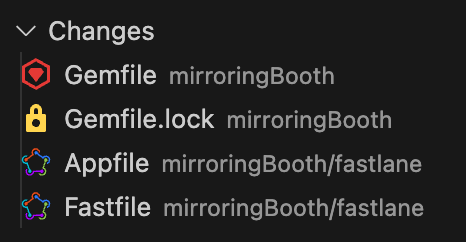
생성된 각 파일은 아래와 같은 역할을 수행한다.
Gemfile
→ fastlane의 관리 주체이며 CI에 필요한 Ruby를 관리
Gemfile.lock
→ 실제로 사용중인 정확한 gem 버전을 고정한다.
Appfile
→ 앱의 메타 정보(번들 ID, 팀 ID, 애플 ID)를 기록한다.
Fastfile
→ 자동화 파이프라인을 정의한다.
→ adhoc 자동 배포 lane이 여기에 포함될 예정이다.
3. Fastfile에 lane 추가
3-1. Scheme 이름 체크
xcodebuild -list
위 명령을 통해 현재 프로젝트의 스킴 이름을 정확히 확인한다.
# xcodebuild -list 결과
Command line invocation:
    /Applications/Xcode.app/Contents/Developer/usr/bin/xcodebuild -list

Resolve Package Graph

Resolved source packages:
  SwiftLintPlugins: https://github.com/SimplyDanny/SwiftLintPlugins @ 0.63.0

Information about project "mirroringBooth":
    Targets:
        mirroringBooth
        mirroringBoothWatch

    Build Configurations:
        Debug
        Release

    If no build configuration is specified and -scheme is not passed then "Release" is used.

    Schemes:
        mirroringBooth
        mirroringBoothWatch
3-2. Fastfile 작성하기
이때, 고민이 들었다.
현재 프로젝트는 메인 스킴인 mirroringBooth 와 Watch 스킴인 mirroringBoothWatch 이 존재한다.
이때 어떤 것을 빌드해야할 지 고민했다.
메인 앱 스킴만 빌드한다.
scheme: "mirroringBooth"
→ Watch를 포함해야하나.. 아무리 찾아봤지만 따로 레퍼런스가 없었으며 AI에게 물어본 결과 Watch 스킴은 자동으로 포함된다고 한다. (일단 해보고.. 안되면 다른 방법으로..)
메인 / Watch를 각각 빌드한다.
lane :adhoc_ios do
  build_app(scheme: "mirroringBooth", ...)
end

lane :adhoc_watch do
  build_app(scheme: "mirroringBoothWatch", ...)
end
→ 위 내용으로 진행했을 때 Watch의 경우 단독 .ipa 가 추출될 것 같은데.. 이는 의미가 전혀 없을 것 같다.
따라서 메인 앱 스킴만 빌드함으로써 Watch 까지 함께 포함되는 방식으로 진행해보았다. (확실하진 않다..)
최종적으로 아래와 같이 Fastfile을 작성한 뒤 테스트를 해보자.
default_platform(:ios) # 기본 플랫폼을 설정합니다.
# 이때 iOS / iPadOS / Mac(Designed for iPad)는 같은 ipa이기 때문에 기본 플랫폼을 iOS로 설정했습니다.

platform :ios do
  desc "Ad-hoc IPA build (includes Watch App)" # 설명
  lane :adhoc do # lane 타입 정의
    build_app( # lane 내부 fastlane 액션 정의
      scheme: "mirroringBooth", # Xcode에서 어떤 Scheme을 빌드할 것인가?
      export_method: "ad-hoc", # ipa를 어떤 배포 방식으로 내보낼 것인가?
      output_directory: "./build", # ipa 결과물을 어디에 내보낼 것인가?
      output_name: "mirroringBooth.ipa", # 생성될 ipa 파일 이름은 무엇인가?
      clean: true # 빌드 전에 DerivedData를 정리한다.
    )
  end
end
그 후 아래 명령어를 통해 로컬에서 Ad-hoc 빌드를 실행해보자.
bundle exec fastlane adhoc
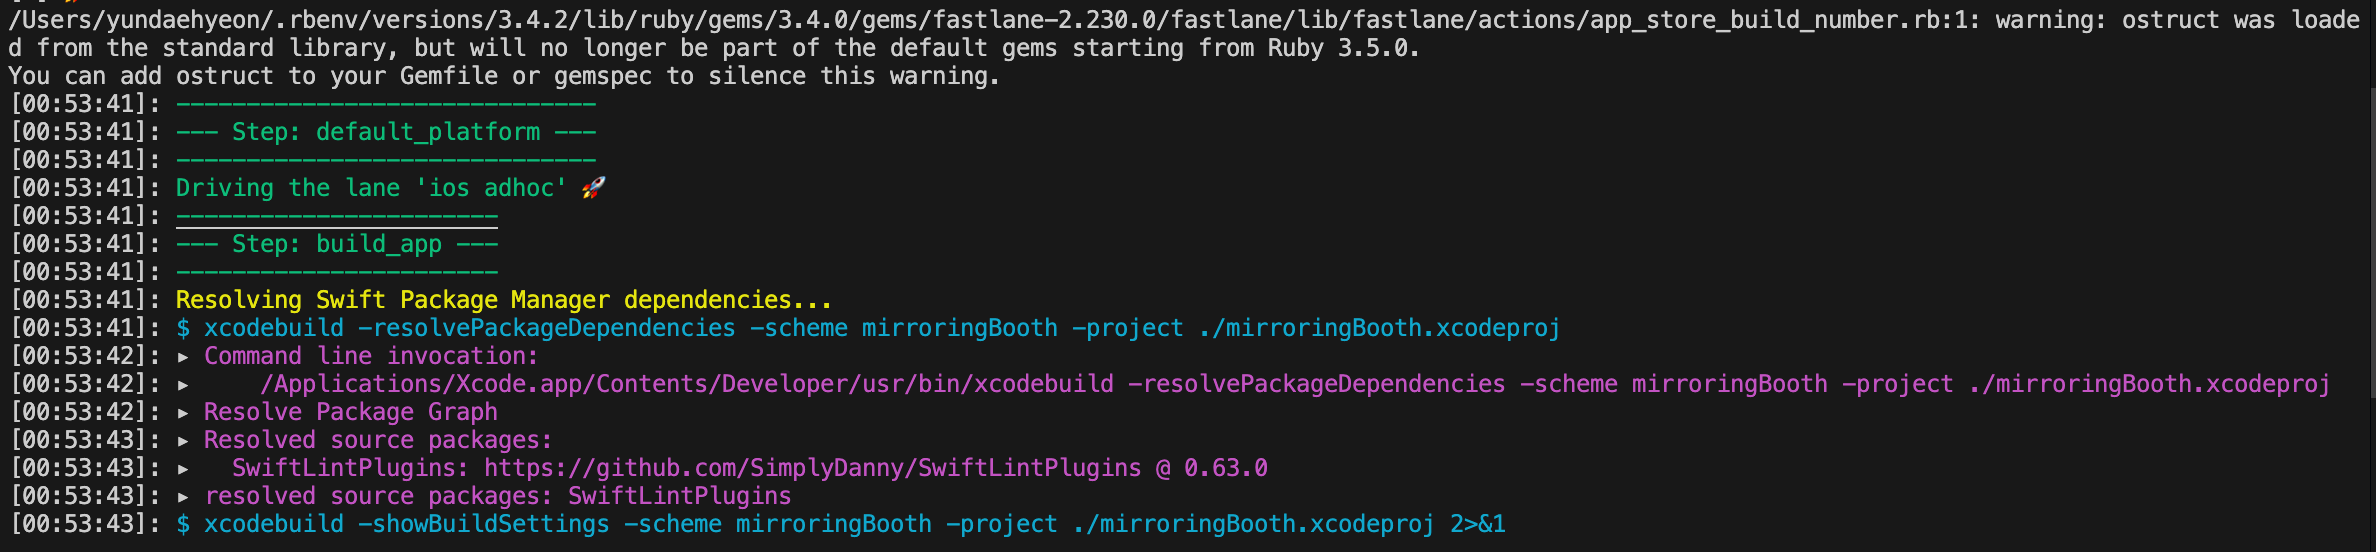
뭔가 잘 뜨다가… 아래와 같은 오류가 터졌다..
error: exportArchive No profiles for
'kr.codesquad.boostcamp10.dolAwang.mirroringBooth' were found
error: exportArchive No profiles for
'kr.codesquad.boostcamp10.dolAwang.mirroringBooth.watchkitapp' were found

** EXPORT FAILED **
[00:54:12]: Exit status: 70
Archive는 성공했지만 IPA로 내보내는 과정에서 Ad-hoc 서명을 읽어오지 못하는 것 같다.
즉, Ad-hoc용 Provisioning Profile을 fastlane이 찾지 못하고 있는 것 같다..
우선, 실제 프로젝트에서 실제 Ad-hoc Archive 가 되는지 확인해보자.
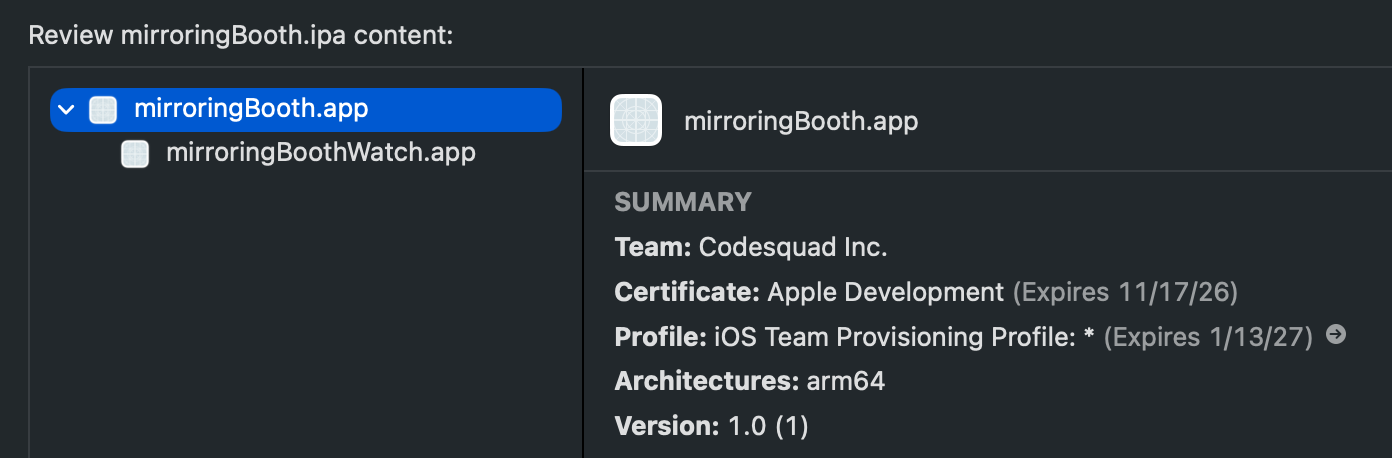
아주 잘되고 있다.
그 후 Fastfile 에 export_options , provisioningProfiles 블록을 하나 열어 정확하게 명시해준다.
lane :adhoc do
  build_app(
    scheme: "mirroringBooth",
    export_method: "ad-hoc",
    output_directory: "./build",
    output_name: "mirroringBooth.ipa",
    clean: true,
    export_options: {
      provisioningProfiles: {
        "kr.codesquad.boostcamp10.dolAwang.mirroringBooth" => .. 뭘적어야하지?
        "kr.codesquad.boostcamp10.dolAwang.mirroringBooth.watchkitapp" => ...
      }
    }
  )
end
음.. 확인해보니까 실제 Ad-hoc이 아닌 것 같다.
실제로 애플 개발자에서 확인해보니
Ad-hoc 프로비저닝 프로파일이 존재하지 않는다.
결정적으로 아카이브를 할 때 옵션이 아래와 같이 보인다.
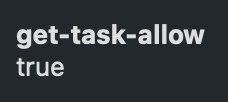
위 옵션이 true 라는 것은 개발용(Development) 라는 것이고 false 가 배포용(Ad-hoc이나 앱스토어) 이다.
여태까지 나는 우리가 Ad-Hoc 방식으로 배포하고 있는 줄 알았지만.. 그게 아니라 개발 확인용 디버깅 배포 였다.. (잘못 이해하고 있었다..)
따라서 fastlane 설정을 아래와 같이 :adhoc 에서 :dev_ipa 로 변경해보자.
default_platform(:ios)

platform :ios do
  desc "Development IPA build (internal device distribution, includes Watch App)"
  lane :dev_ipa do
    build_app(
      scheme: "mirroringBooth",
      export_method: "development",
      output_directory: "./build",
      output_name: "mirroringBooth.ipa",
      clean: true
    )
  end
end
다만, 위 방식으로 진행한다면.. 오픈스테이지 경우 테스트 플라이트로 수동 배포해야하지 않을까..? 하는 생각이 든다.
일단 내부 Appbox 배포가 목적이므로 그대로 진행해보자.
lane 이름도 dev_ipa 로 바꿨으니 아래와 같이 입력해서 테스트를 진행한다.
bundle exec fastlane dev_ipa
[01:15:59]: Successfully exported and compressed dSYM file
[01:15:59]: Successfully exported and signed the ipa file:
[01:15:59]: ~/mirroringBooth/build/mirroringBooth-dev.ipa

+---------------------------------------+
|           fastlane summary            |
+------+------------------+-------------+
| Step | Action           | Time (in s) |
+------+------------------+-------------+
| 1    | default_platform | 0           |
| 2    | build_app        | 26          |
+------+------------------+-------------+

[01:15:59]: fastlane.tools finished successfully 🎉

ipa가 성공적으로 추출된 것으로 보아 성공적으로 빌드가 성공함을 알 수 있다.
4. Fastlane에 Appbox 플러그인 추가하기
https://github.com/getappbox/fastlane-plugin-appbox/blob/master/README.md
Appbox는 공식적으로 Fastlane 플러그인을 지원한다고 한다.
따라서 아래 명령어를 통해 fastlane에 Appbox 플러그인을 추가한다.
bundle exec fastlane add_plugin appbox

# Installing plugin dependencies...
# Successfully installed plugins
정상적으로 추가 완료가 된 것을 확인했다.
그 후 dev_ipa lane에 Appbox 레인을 추가한다.
default_platform(:ios)

platform :ios do
  desc "Development IPA build & AppBox internal distribution"
  lane :dev_ipa do
    build_app(
      scheme: "mirroringBooth",
      export_method: "development",
      output_directory: "./build",
      output_name: "mirroringBooth-dev.ipa",
      clean: true
    )

    appbox(
      emails: "<배포 알림을 받을 이메일>",
      message: "MirroringBooth - 개발용 빌드 {BUILD_VERSION}({BUILD_NUMBER}) 준비 완료 🚀",
      keep_same_link: true
    )

    UI.success("✅ 빌드 및 AppBox 업로드 완료")
    UI.message("📦 설치 링크: #{lane_context[SharedValues::APPBOX_SHARE_URL]}")
  end
end
이제 아래 명령어를 통해 fastlane을 실행시킨 후
- Appbox 업로드가 되었는지
- 이메일이 왔는지
- 링크 설치가 되는지
확인해보자.
💀 주의!
이때, Appbox.app은 반드시/Applications에 위치하고 있어야한다!
사용자 홈 폴더 안의
~/Applications가 아니다!⭐ Macintosh HD 내부
Application이다!아니면 아래와 같은 오류가 출력된다.
AppBox is not installed in /Applications folder.
AppBox must be installed at /Applications/AppBox.app
이때, Appbox.app은 반드시 /Applications에 위치하고 있어야한다!
- 사용자 홈 폴더 안의
~/Applications가 아니다! - ⭐ Macintosh HD 내부
Application이다!
아니면 아래와 같은 오류가 출력된다.
AppBox is not installed in /Applications folder.
AppBox must be installed at /Applications/AppBox.app
bundle exec fastlane dev_ipa
성공하면 아래와 같이 로그가 남는다.
[01:39:06]: Successfully uploaded the IPA file to DropBox. Check below summary for more details.

+--------------------------------------------------------------------------------------------------------+
|                                           Summary for AppBox                                           |
+---------------------+----------------------------------------------------------------------------------+
| APPBOX_MANIFEST_URL | (Dropbox manifest 링크 — 비공개)                                                 |
|                     |                                                                                  |
| APPBOX_IPA_URL      | (Dropbox IPA 링크 — 비공개)                                                      |
|                     |                                                                                  |
| APPBOX_SHARE_URL    | (AppBox 설치 링크 — 비공개)                                                      |
+---------------------+----------------------------------------------------------------------------------+

[01:39:06]: AppBox finished successfully
[01:39:06]: ✅ 빌드 및 AppBox 업로드 완료
[01:39:06]: 📦 설치 링크: (AppBox 설치 링크 — 비공개)

+---------------------------------------+
|           fastlane summary            |
+------+------------------+-------------+
| Step | Action           | Time (in s) |
+------+------------------+-------------+
| 1    | default_platform | 0           |
| 2    | build_app        | 25          |
| 3    | appbox           | 16          |
+------+------------------+-------------+

[01:39:06]: fastlane.tools finished successfully 🎉
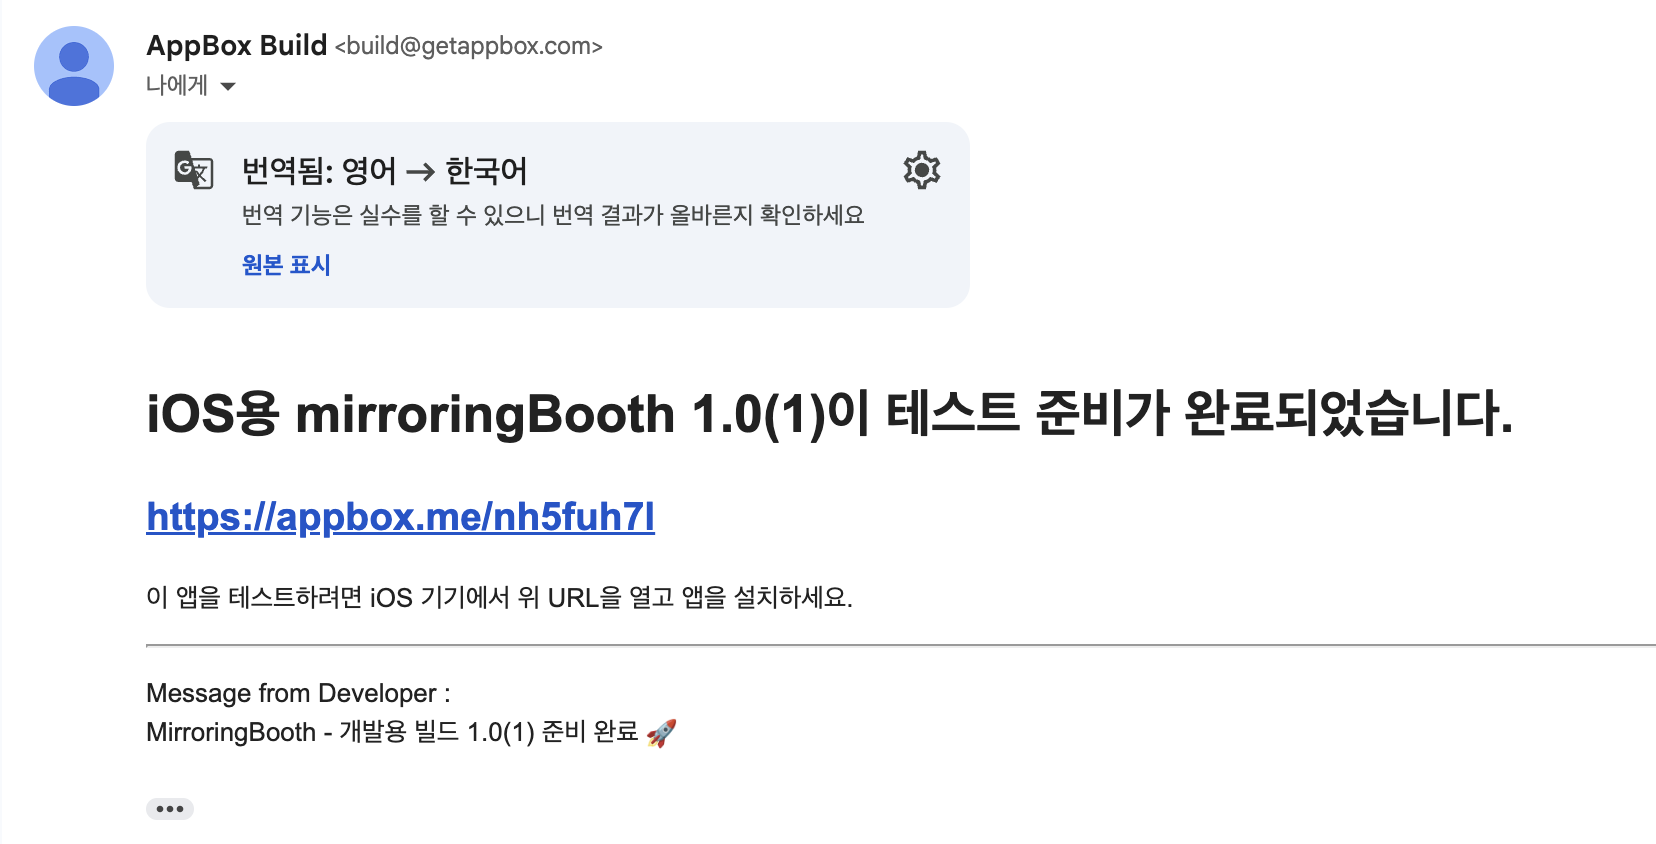
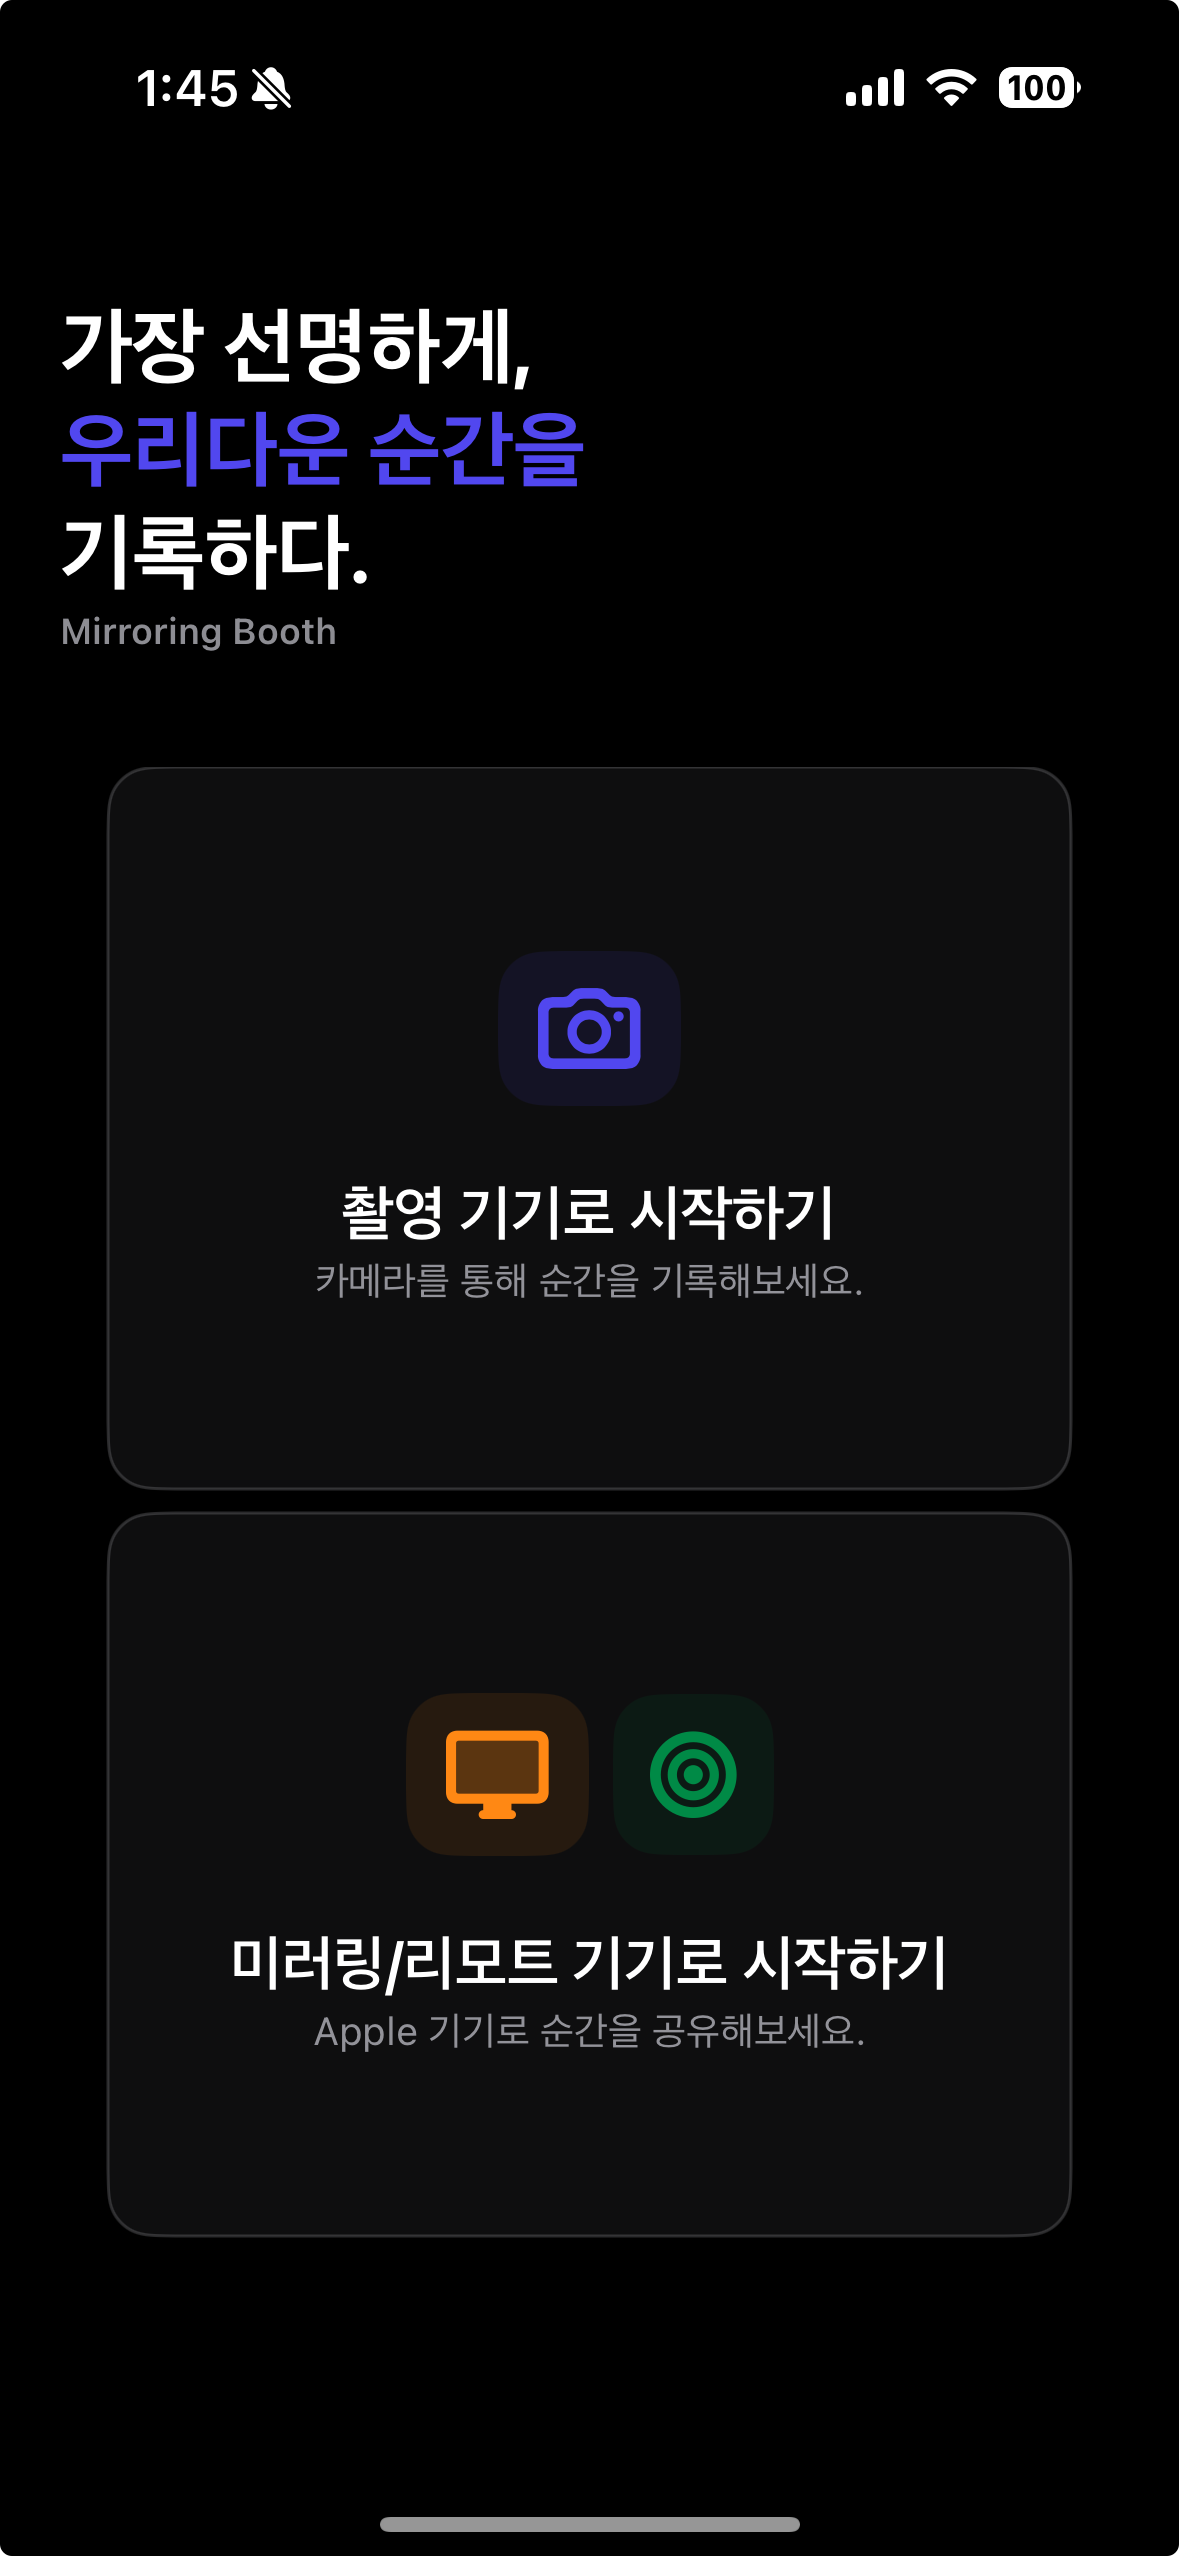
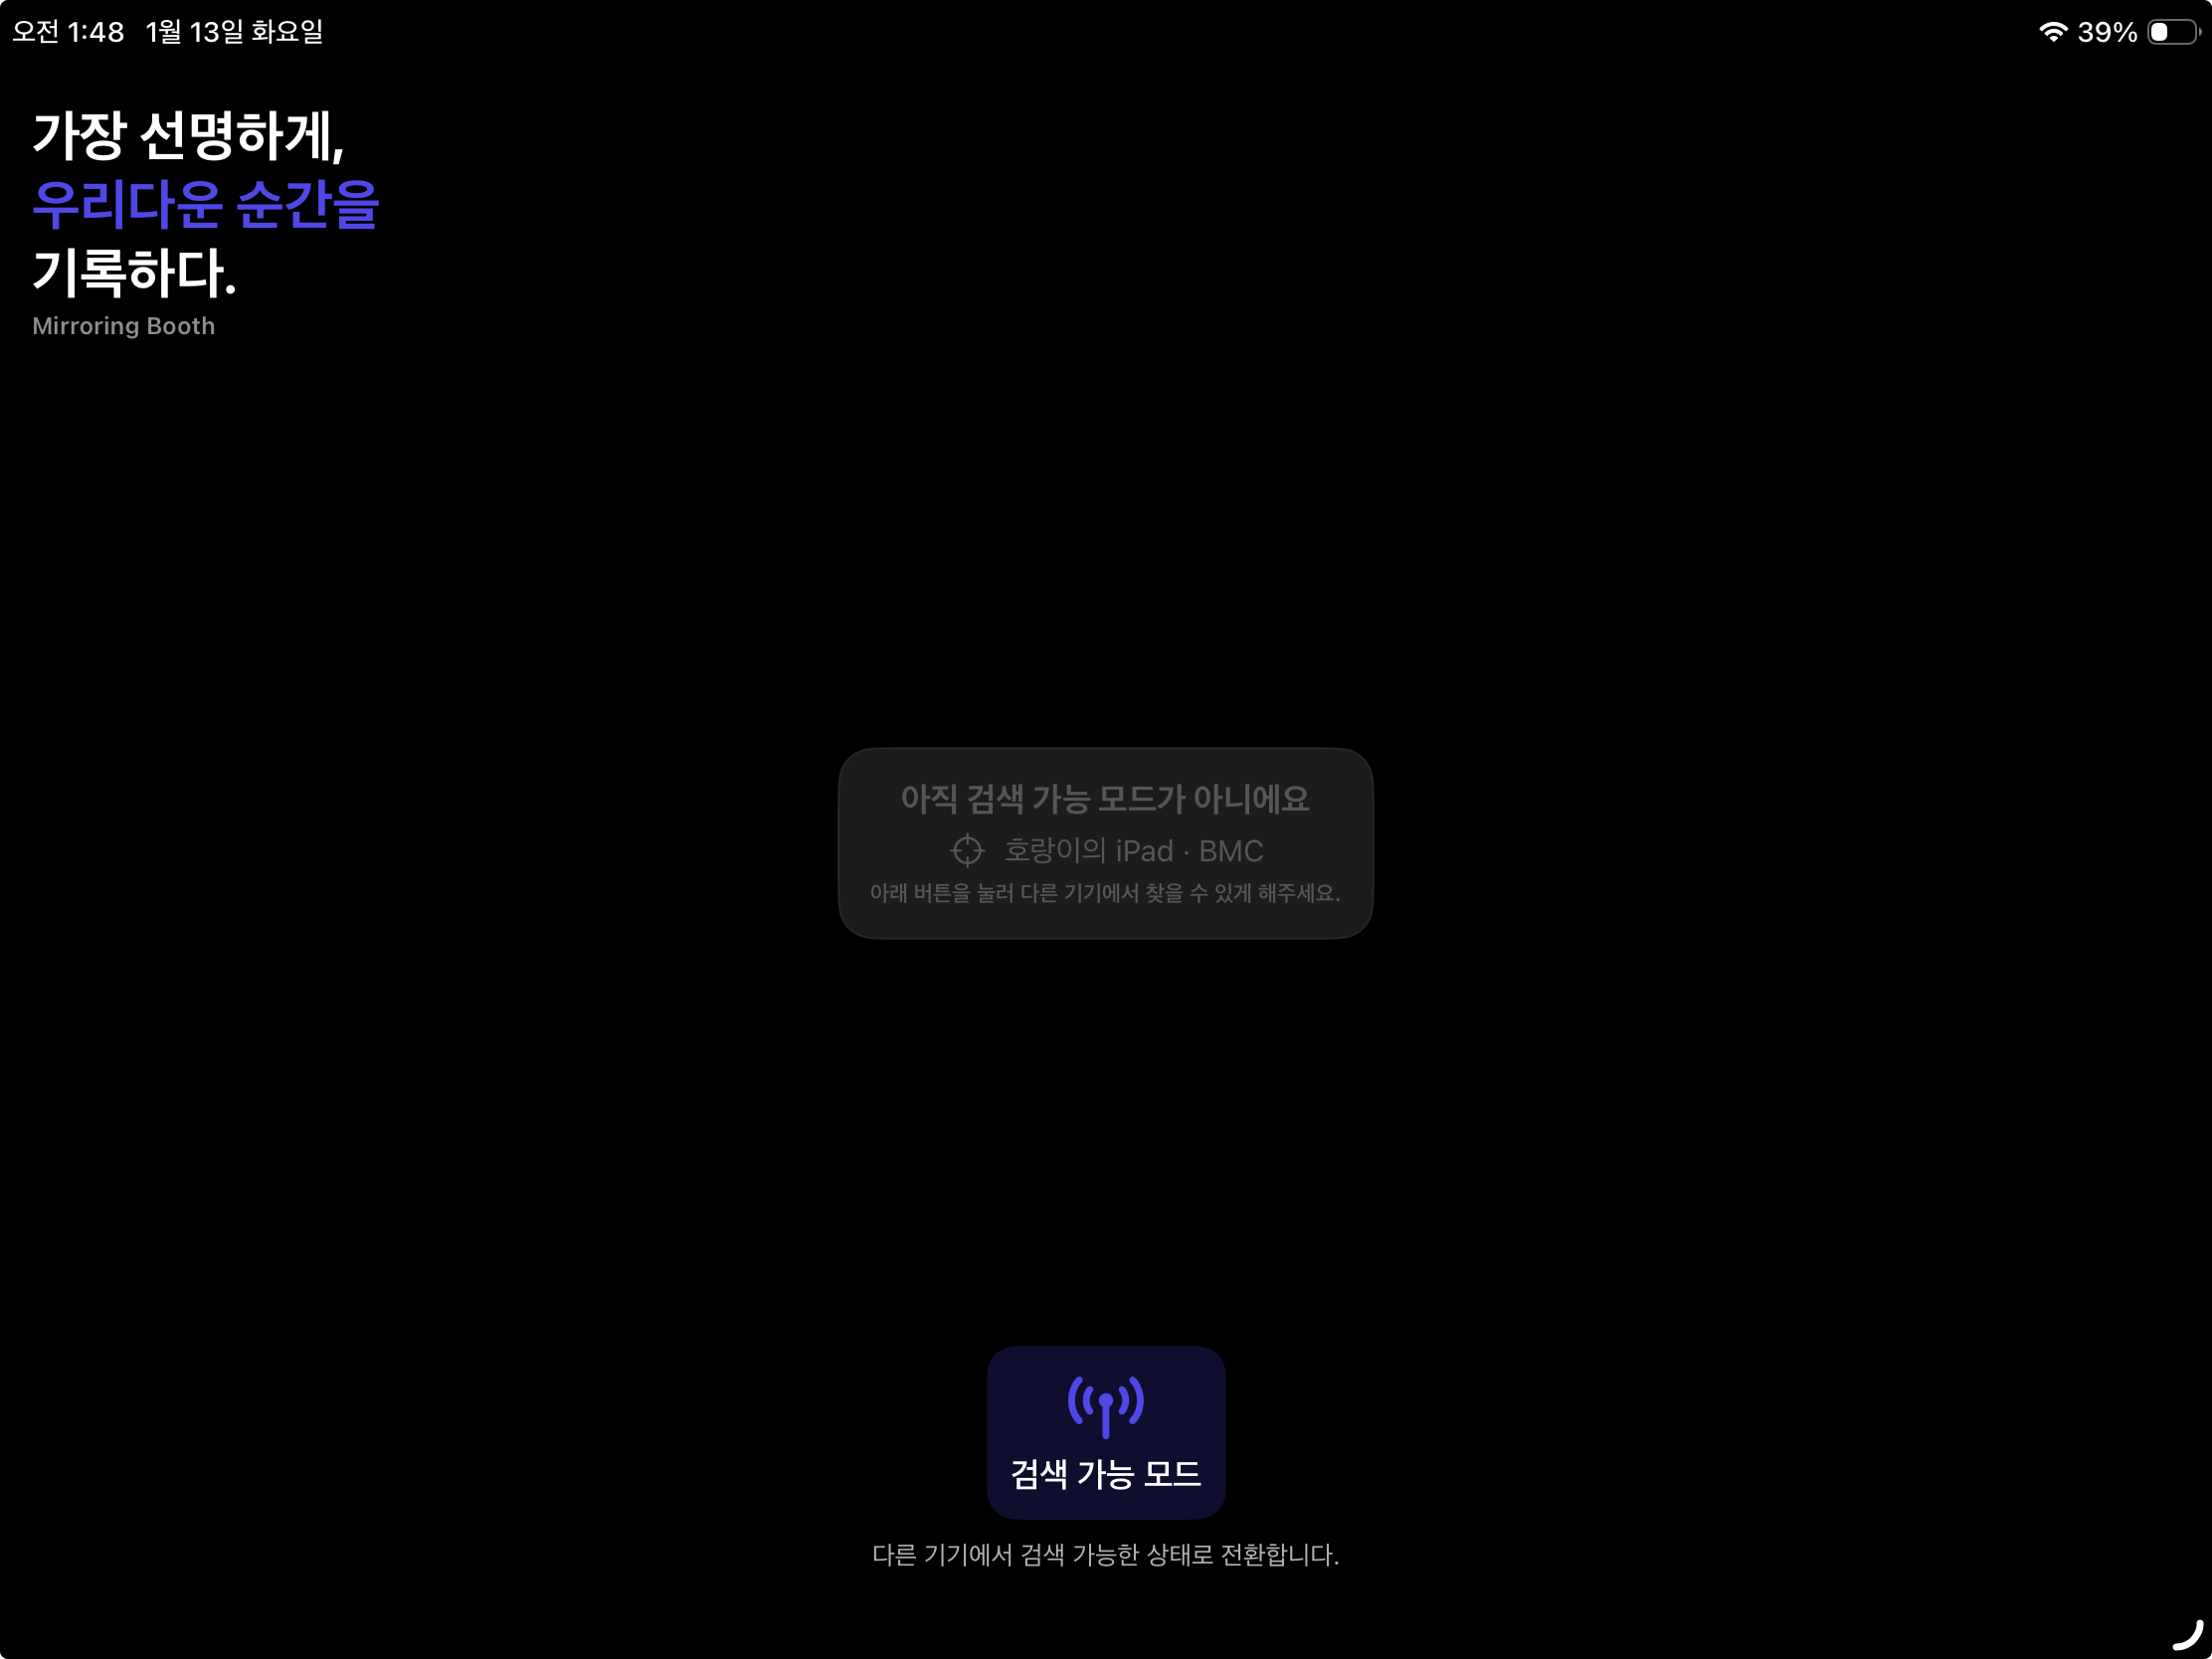
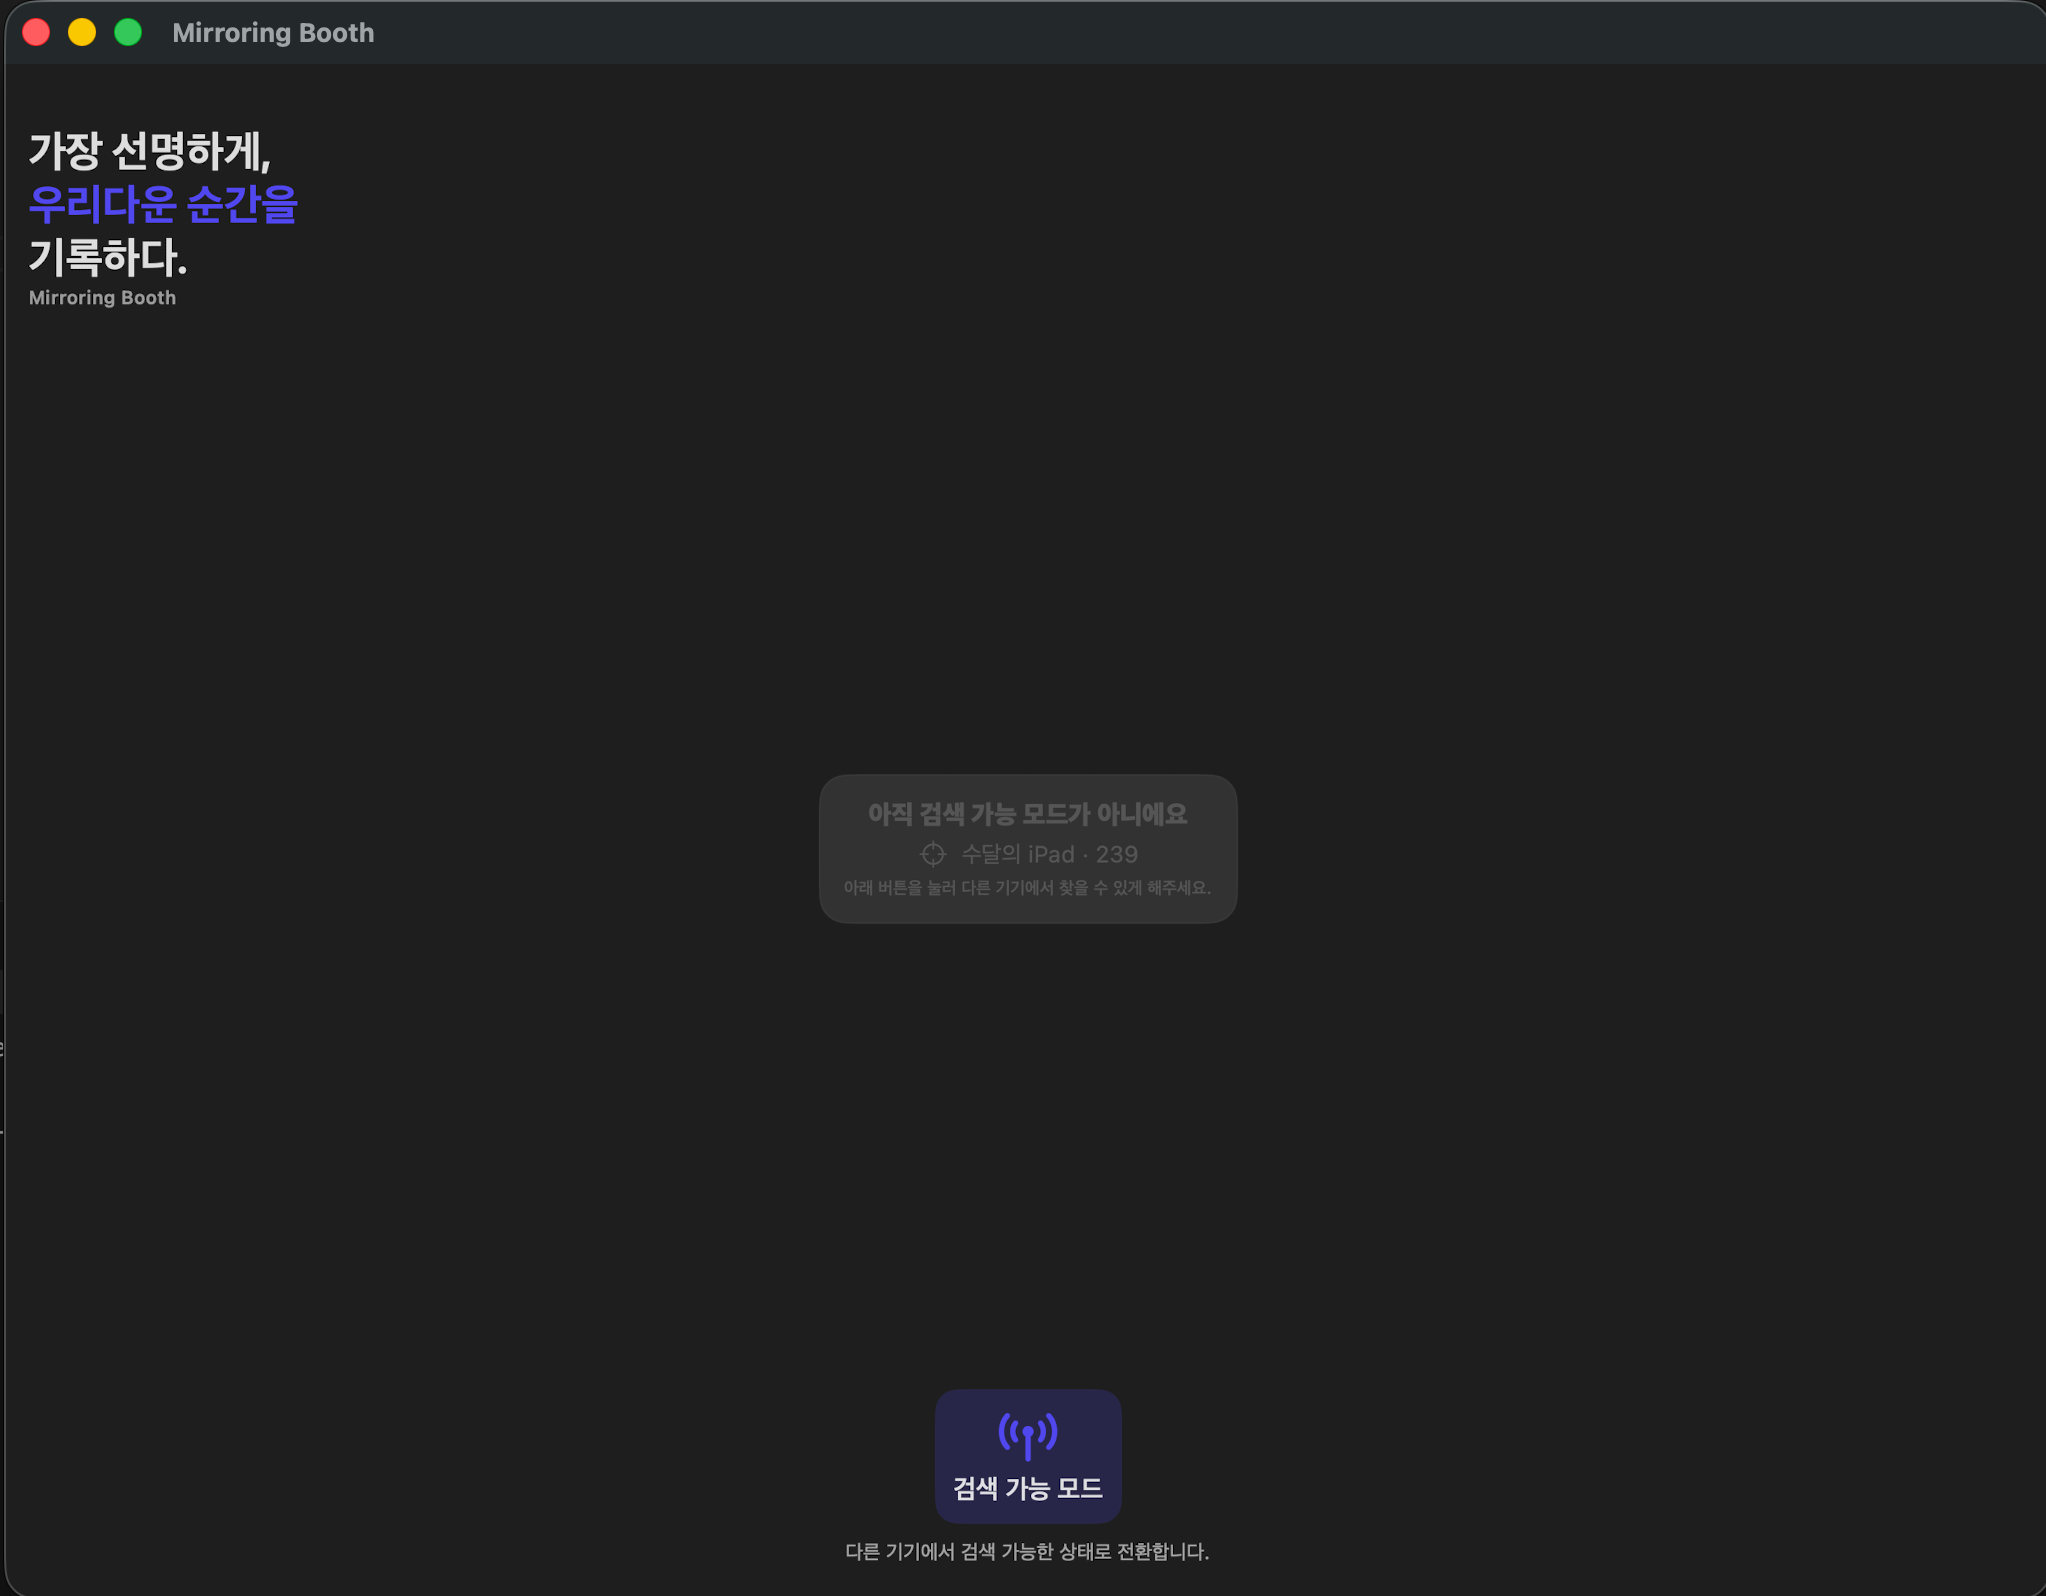
메일도 아주 잘오고, 정상적으로 열리는 것을 확인할 수 있다.
현재 상황
bundle exec fastlane dev_ipa명령어 한 줄로 IPA 빌드, Appbox 업로드, 설치 링크 추출까지 자동화 완료 ✅
이때, main 브랜치에 push 했을 때 자동 배포까지 가려면 CI 서버(Github Actions) 에 Apple 인증서와 프로비저닝 파일을 넣어야함.
→ fastlane의 match를 사용해서 해결 가능
- 인증서와 프로비저닝 파일을 암호화해서
- 네이버 부스트캠프 조직
외부private Repo에 저장 - CI에서 자동으로 복원
관련 내용
- 다만 위 내용은 private repo를 하나 만들고 관리 정책이 필요할 것 같다고 판단.
- 합의 후 match를 도입하여 main push 시 완전 자동 배포로 변경하기
덧붙임 — 이후 진행
공식 배포용 dev_testflight 레인을 따로 추가해, App Store 배포용 IPA 빌드와 TestFlight 업로드까지 자동화했다.